中文版本
If…
you don’t know what is Buroguru, please check here.
This is the quick tutorial that teach how to deploy your own Notion blog using Buroguru.
Step 1: Setting up database
Before deploying Buroguru, you'll need to prepare a Notion database to serve as your blog’s content source. You can either clone the template or create your own with following fields.
| Field Name | Type | Description |
|---|---|---|
Title | Title | The title of the post. |
id | Text | The id of the post, also the url-slug of the blog. (e.g. buruguru.zudo.cc/get-started-en. |
Published | Checkbox | Whether to publish. |
Tags | Multi-select | Category tags |
Date | Date | Just date that indicate the time your wrote the post. |
Description | Text | Brief summary of the posts shown in preview. |
Thumbnail | Files & media | Thumbnail image. |
Step 2: Setting up Notion Integration
To allow Buroguru to access your Notion database, you need to create a Notion Integration and get the access token.
-
Create new integrationGo to Notion Integration and click ‘Add Integration’, select the workspace where your database is located, and give your integration a name like ‘blog’, the logo is not required.
-
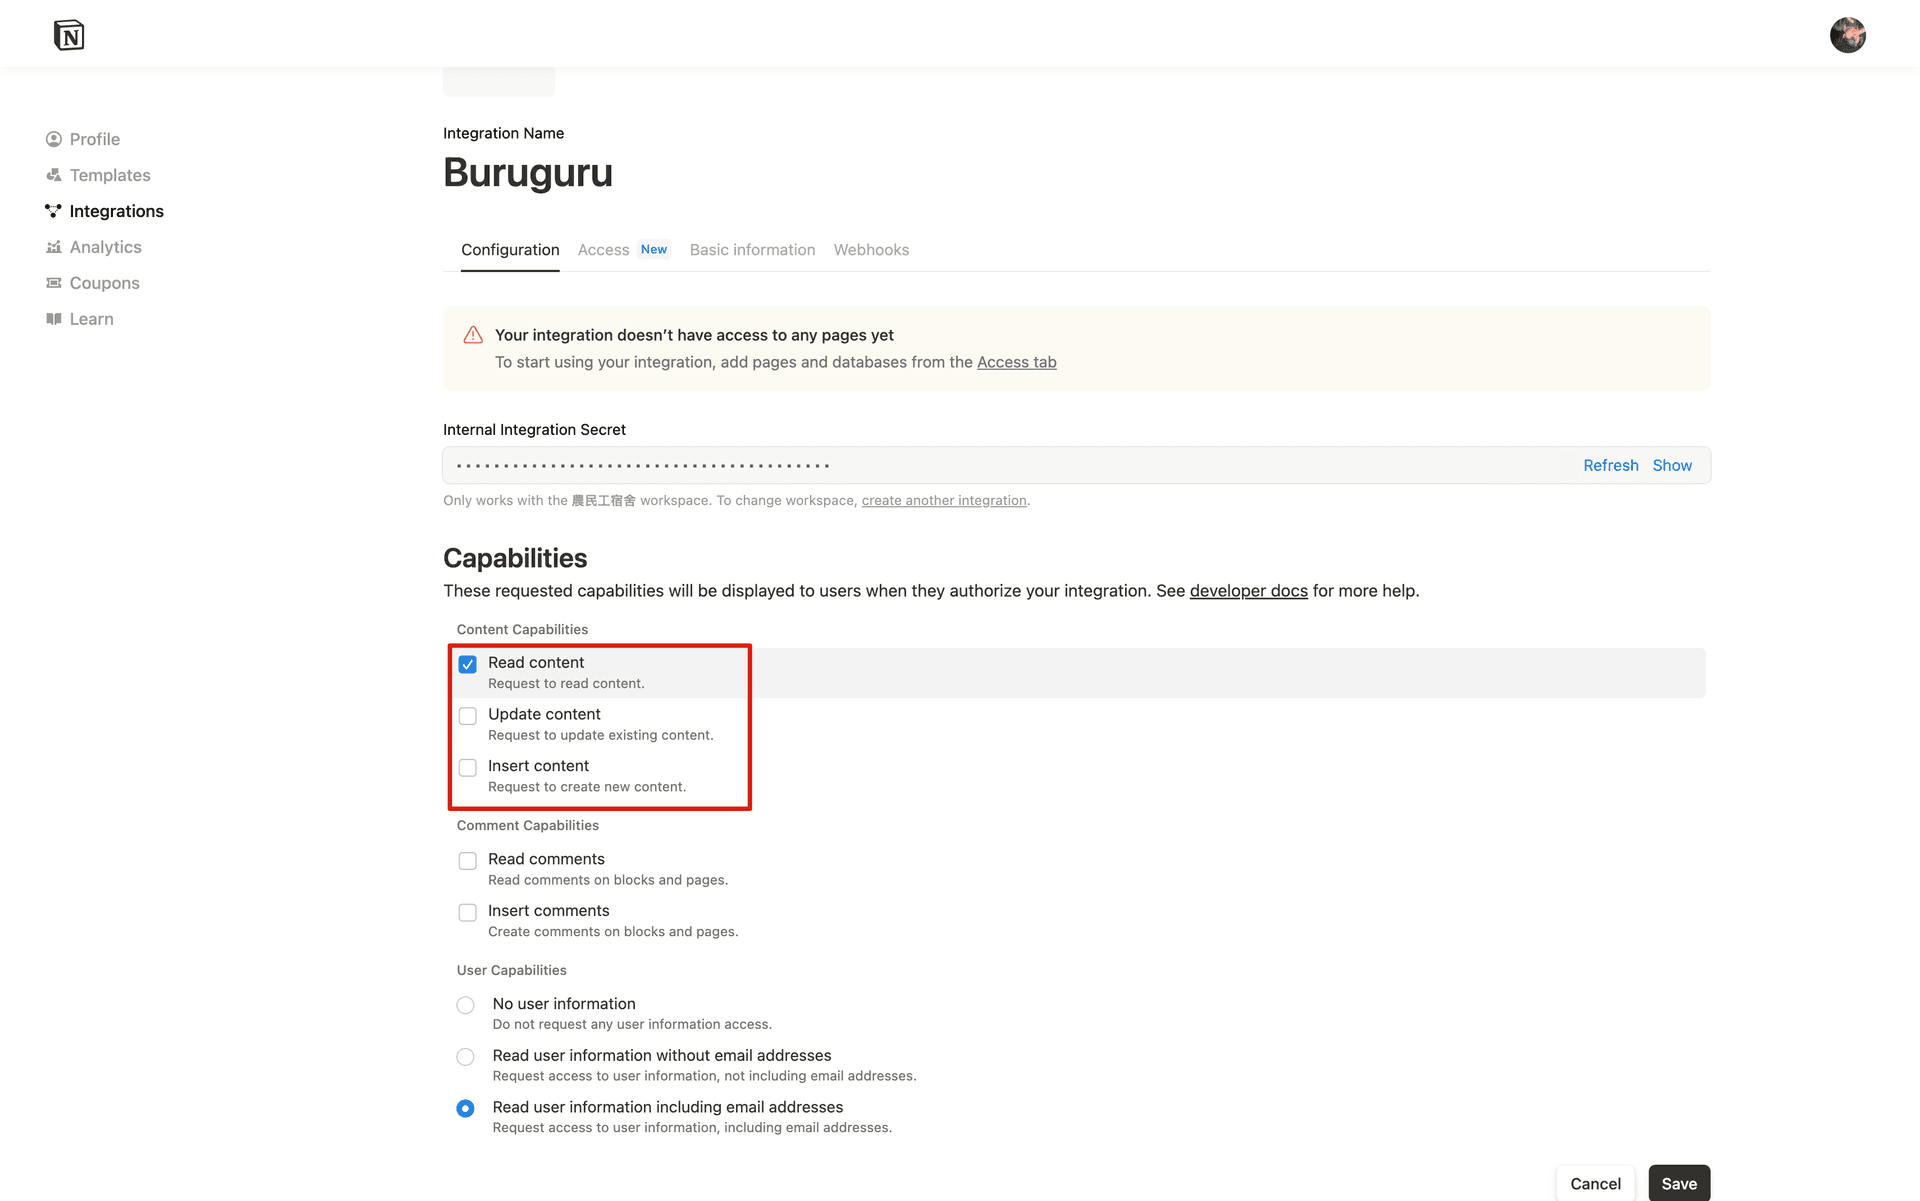
Update the capabilitiesClick the new added integration, In the Content Capabilities section, at least toggle Read content.

-
Copy Notion tokenAfter creating it, you’ll see a field labeled
Internal Integration Token. Copy this token, we’ll use it later.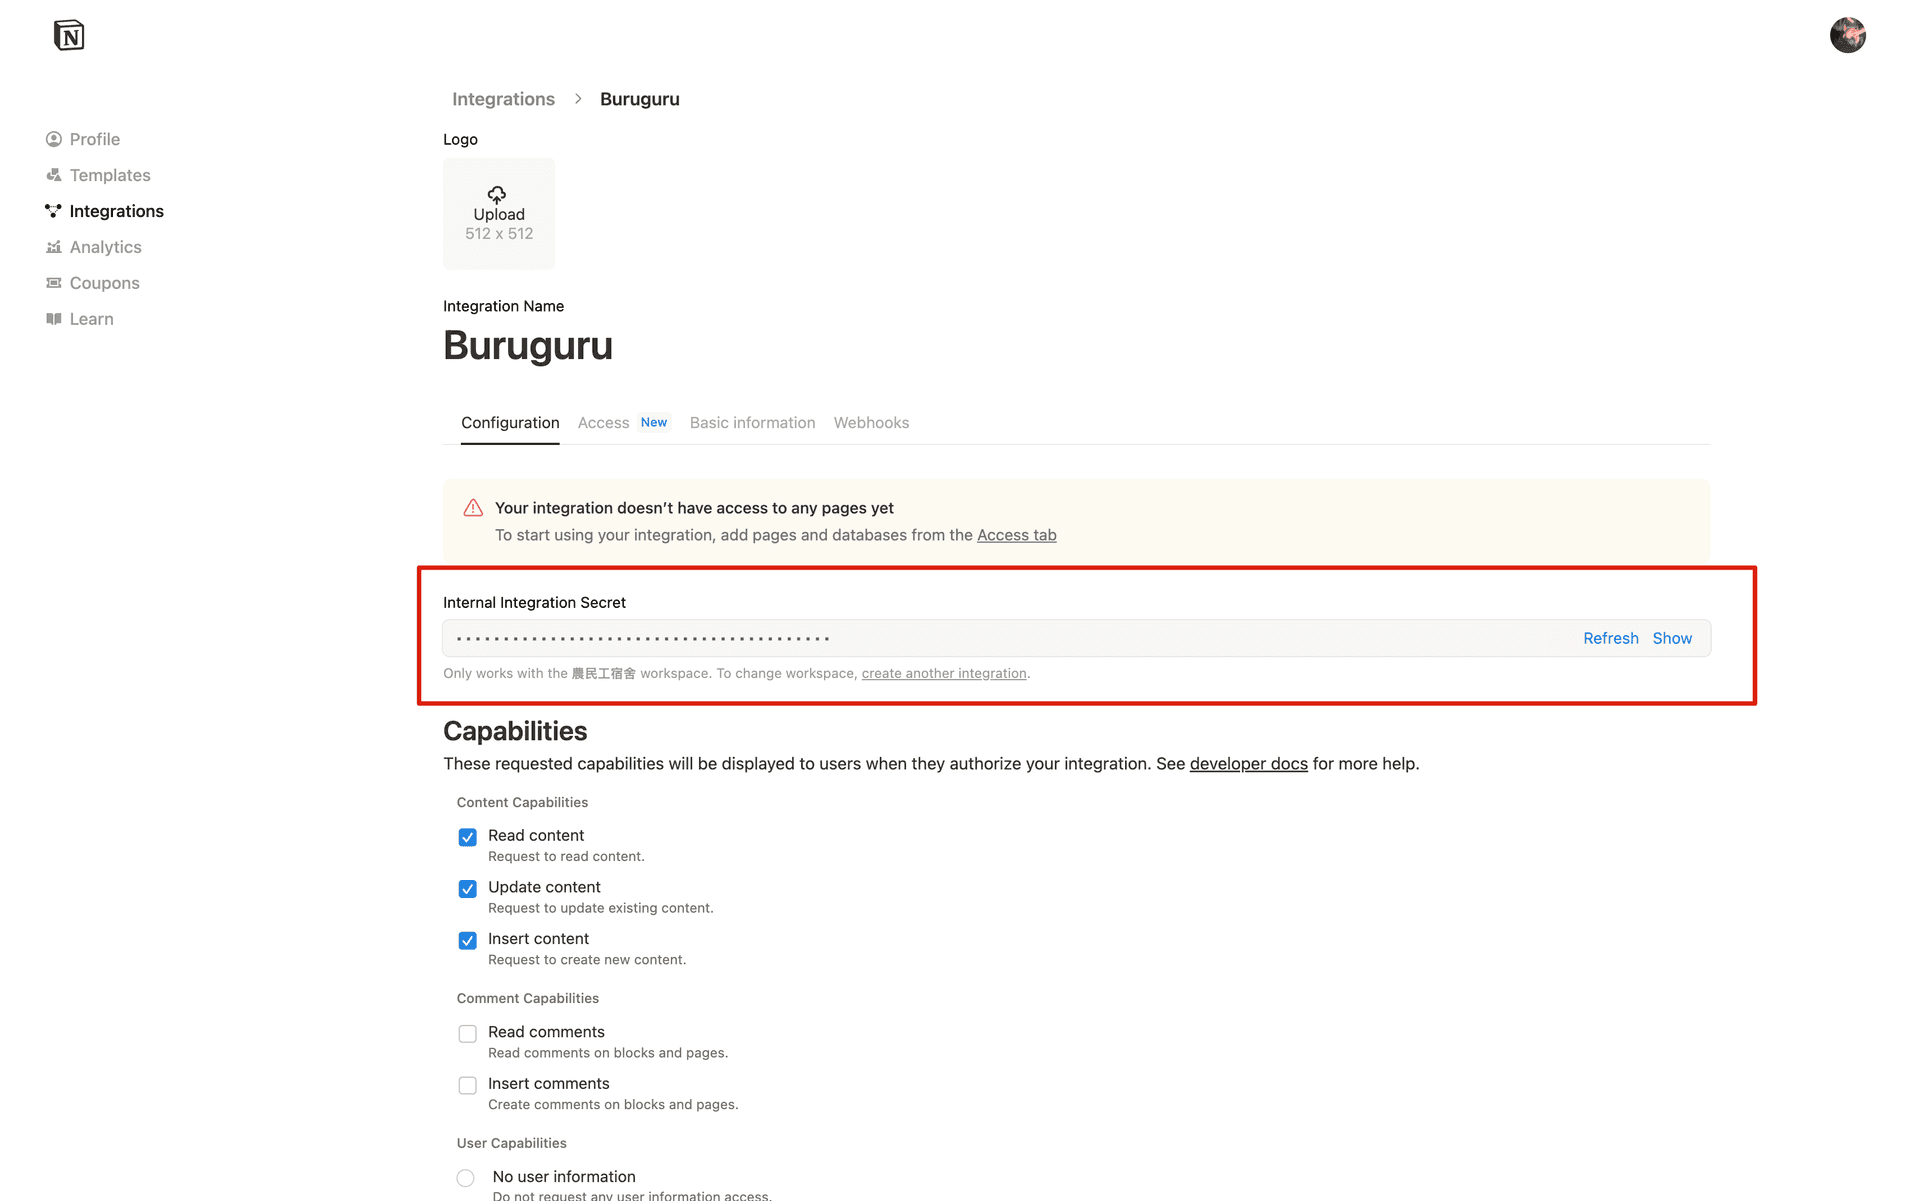
-
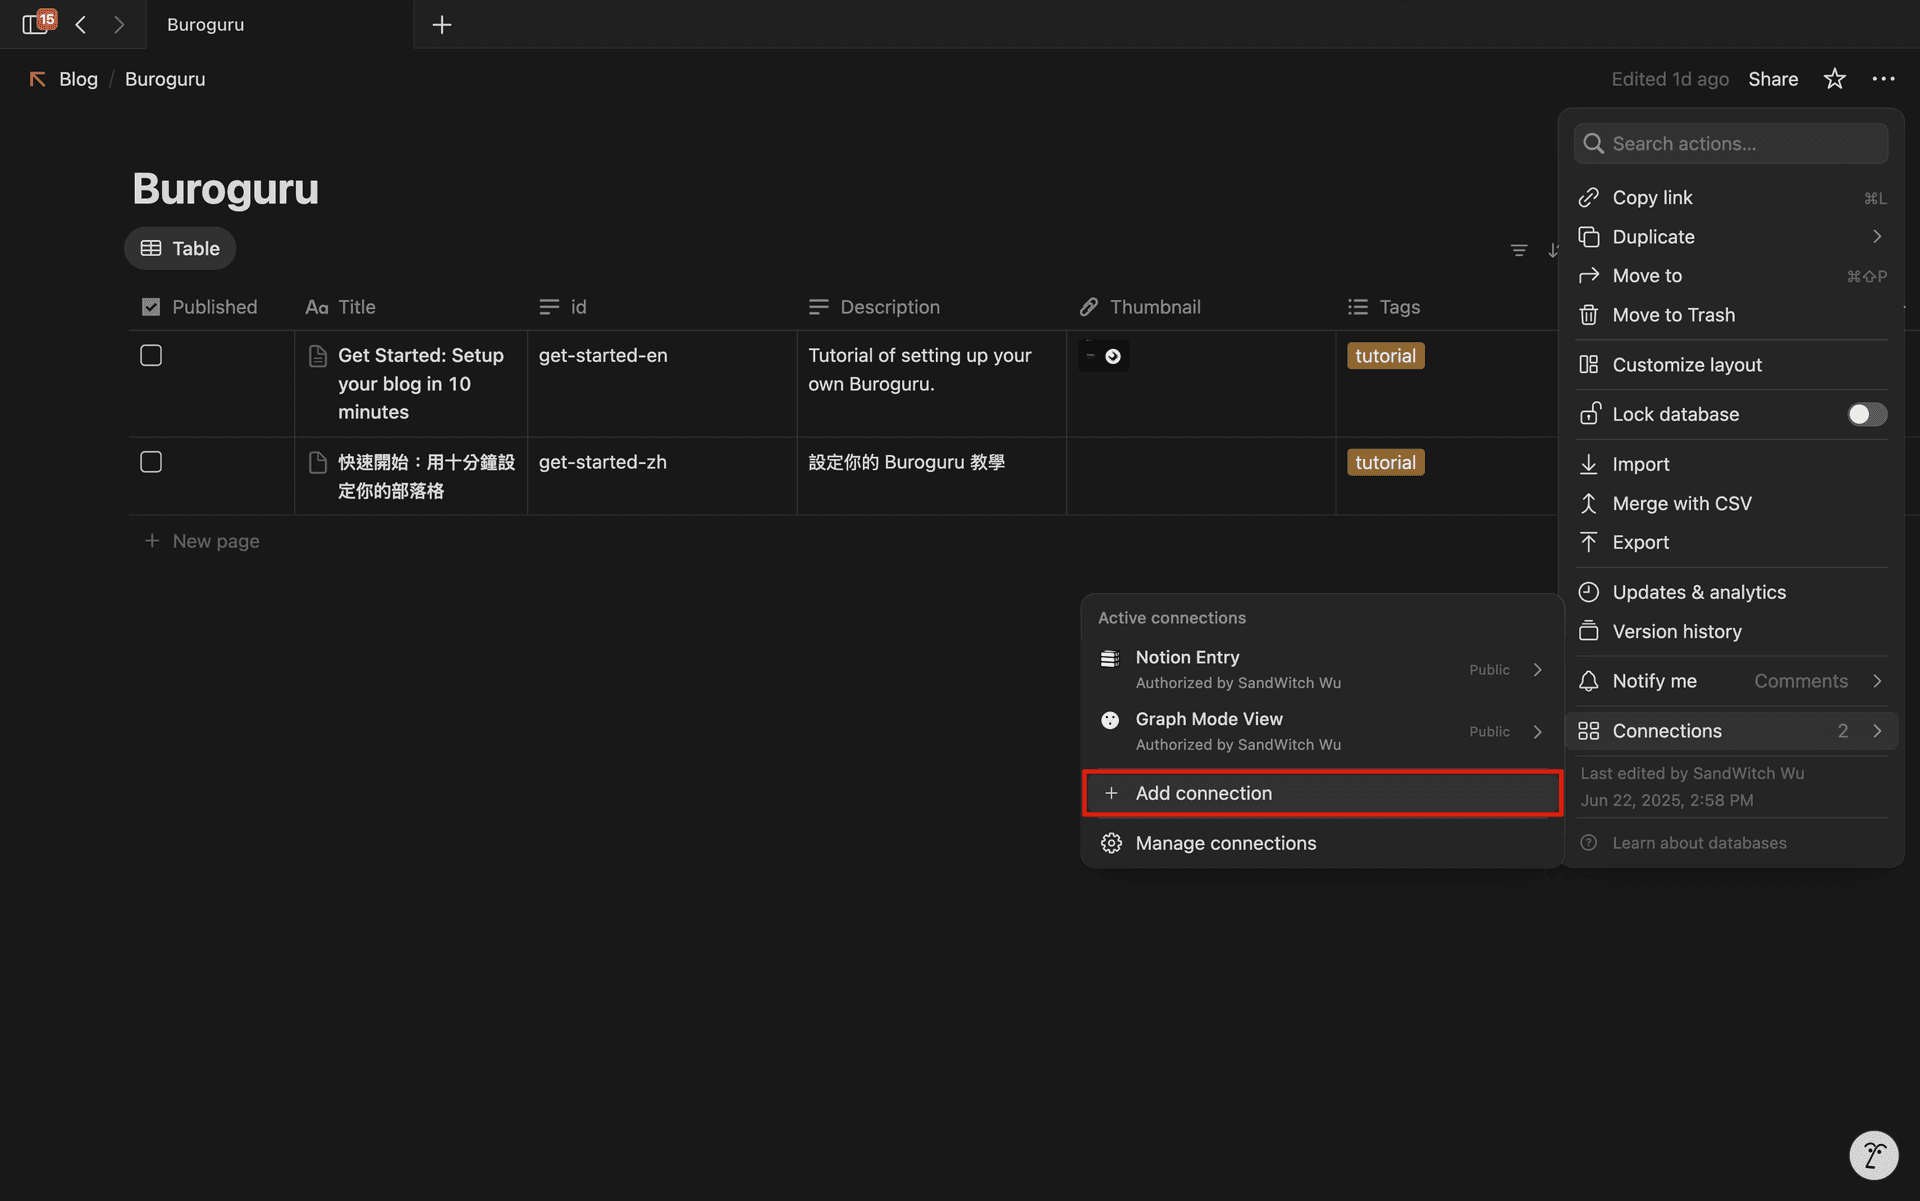
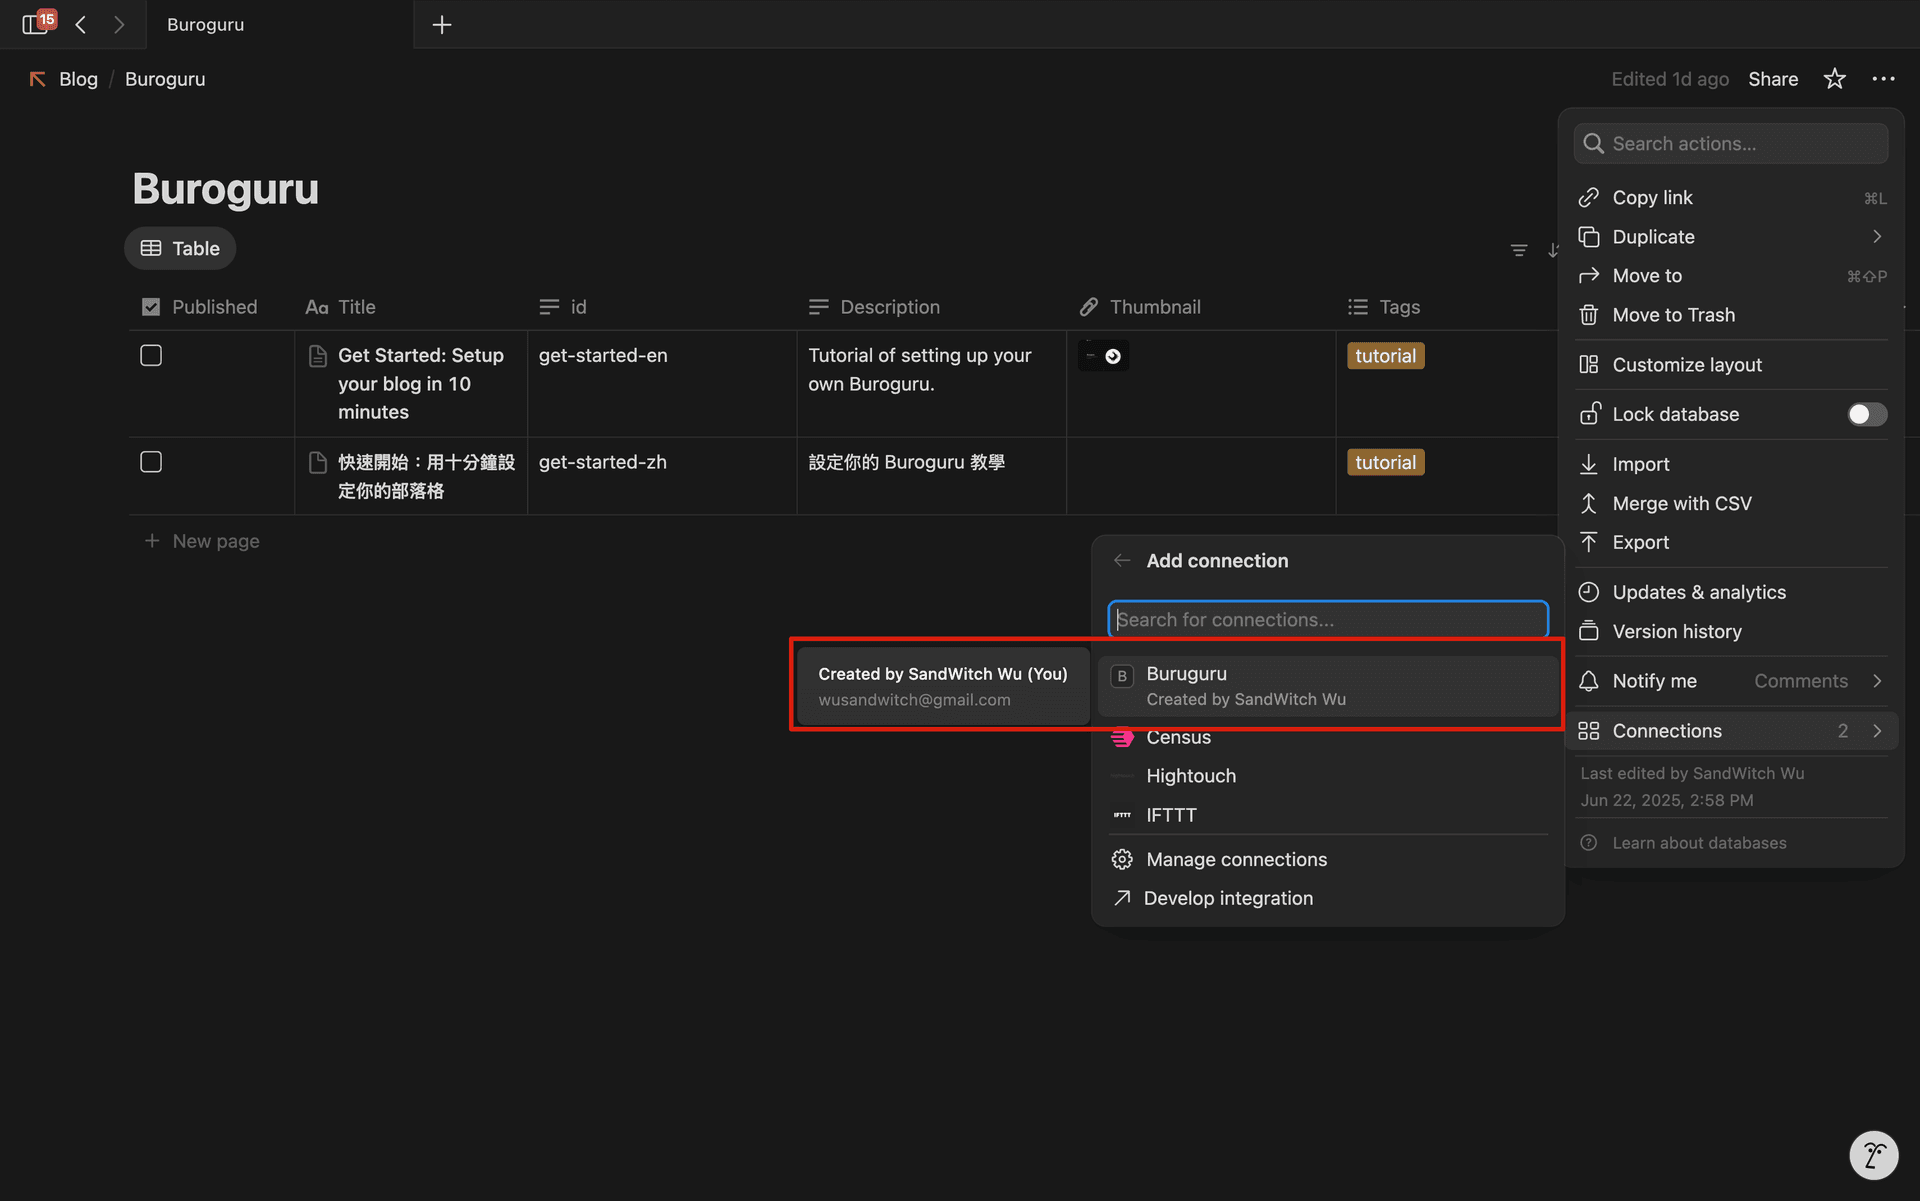
Add connectionGo back to the Notion database you create earlier in “full page”, click the three dots in the top right, then on the bottom, click Connections and select the integration just added.
-
Copy database idClick Share button on the top right, and click Copy Link, and you’ll get a link like
https://www.notion.so/wusandwitch-notes/212d51c8314480ca8d4ffa62487XXXXXX?v=212d51c8314480a89fea000cXXXXXX&source=copy_link. And the
Database IDwill be the first id (the one before?), the one in the example will be212d51c8314480ca8d4ffa62487XXXXXX```, and keep it, we'll also use it later.
Step 3: Setting up repository and token
Once the Notion integration is ready, you can fork the Buroguru repository to your GitHub account and deploy your blog to Vercel in just a few clicks.
-
Fork the repositoryGo to https://github.com/WuSandWitch/Buroguru and click Fork.
 Give the repository you like, like
WuSandWitch-Blog -
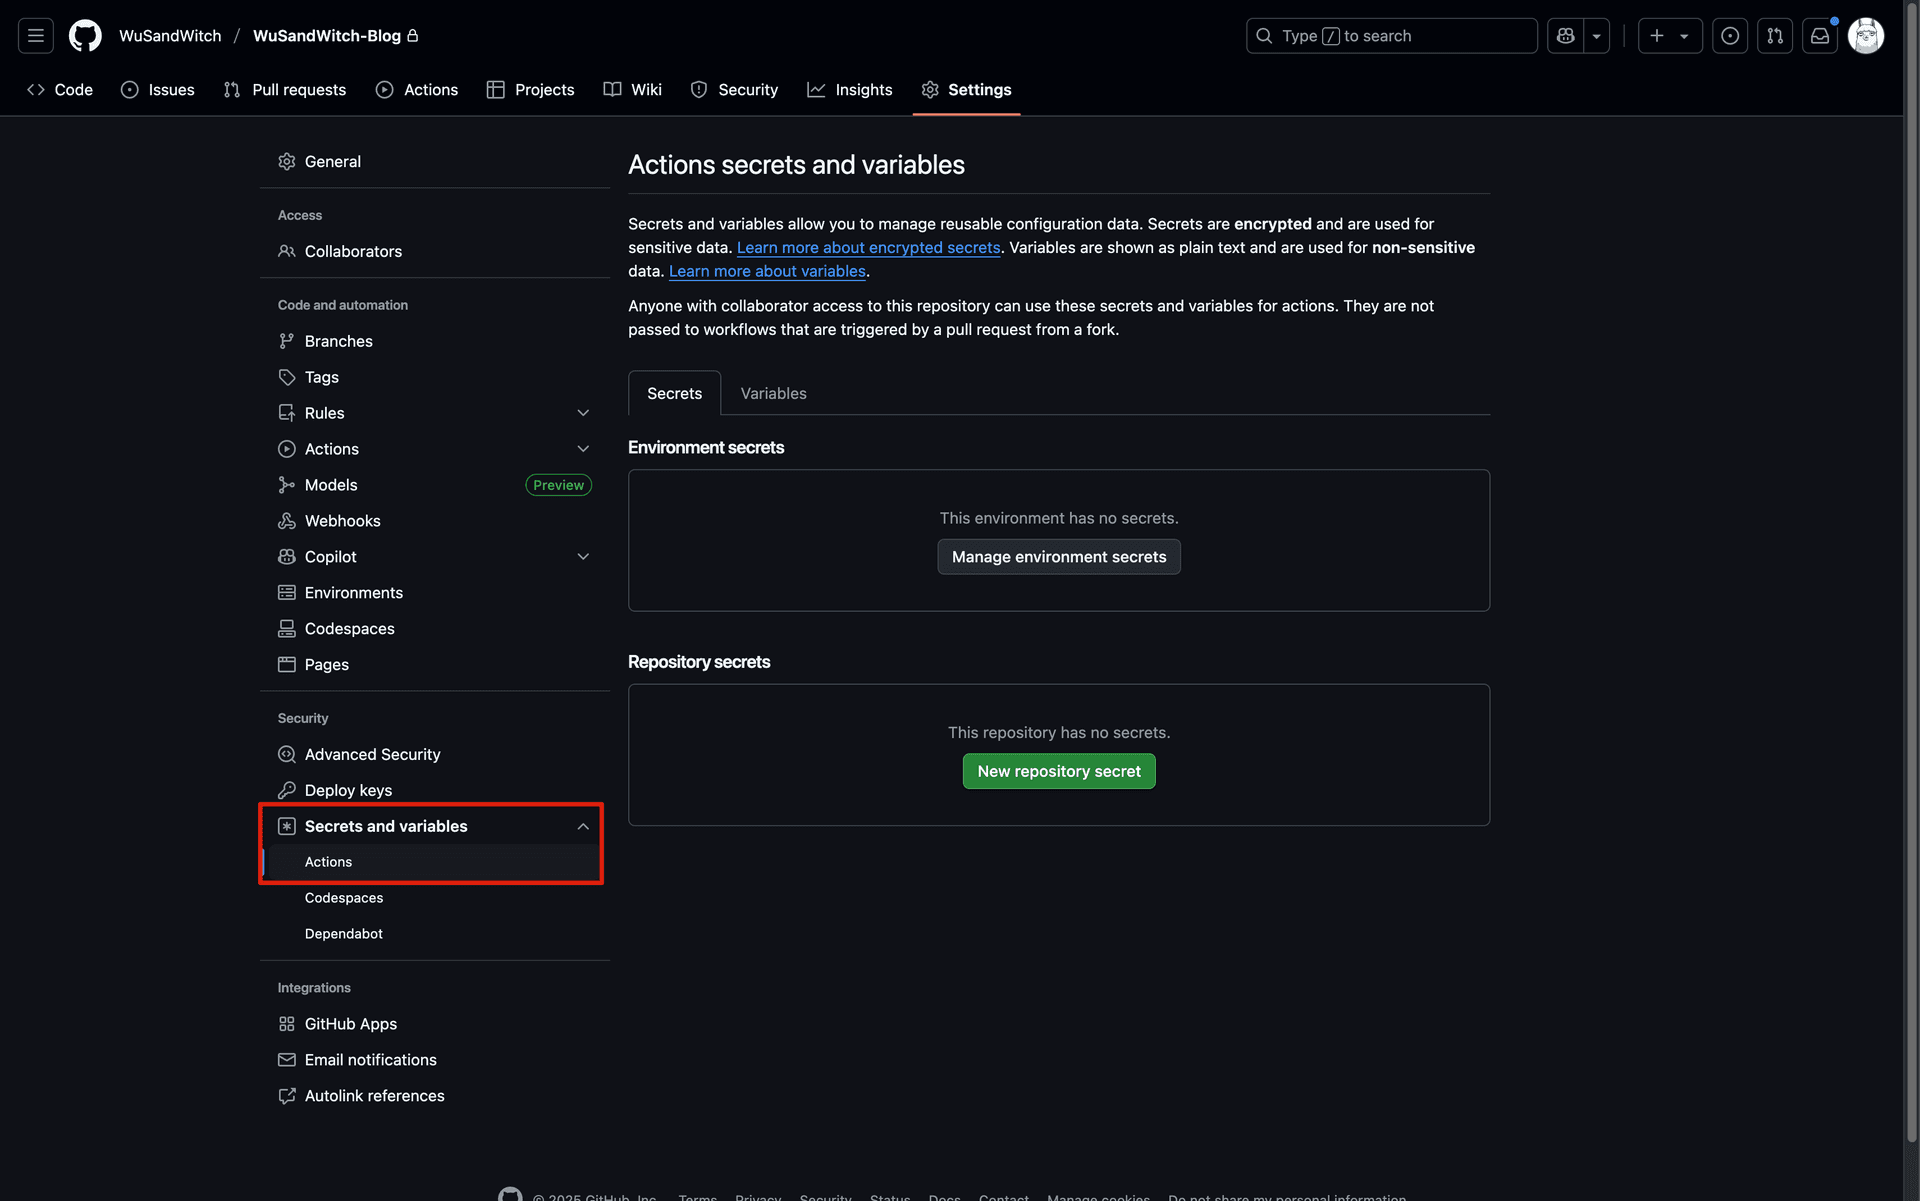
Configure Github Secrets / Notion tokenAfter clone, go to Setting, and then Secrets and variables, go to Action, and add the “Repository Secrets”, by clicking New repository secret.
 Now add two secret, one is
NOTION_TOKEN, which is the Notion Integration token we just keep. And another one is
NOTION_DATABASE_IDwhich is the blog database id we just keep.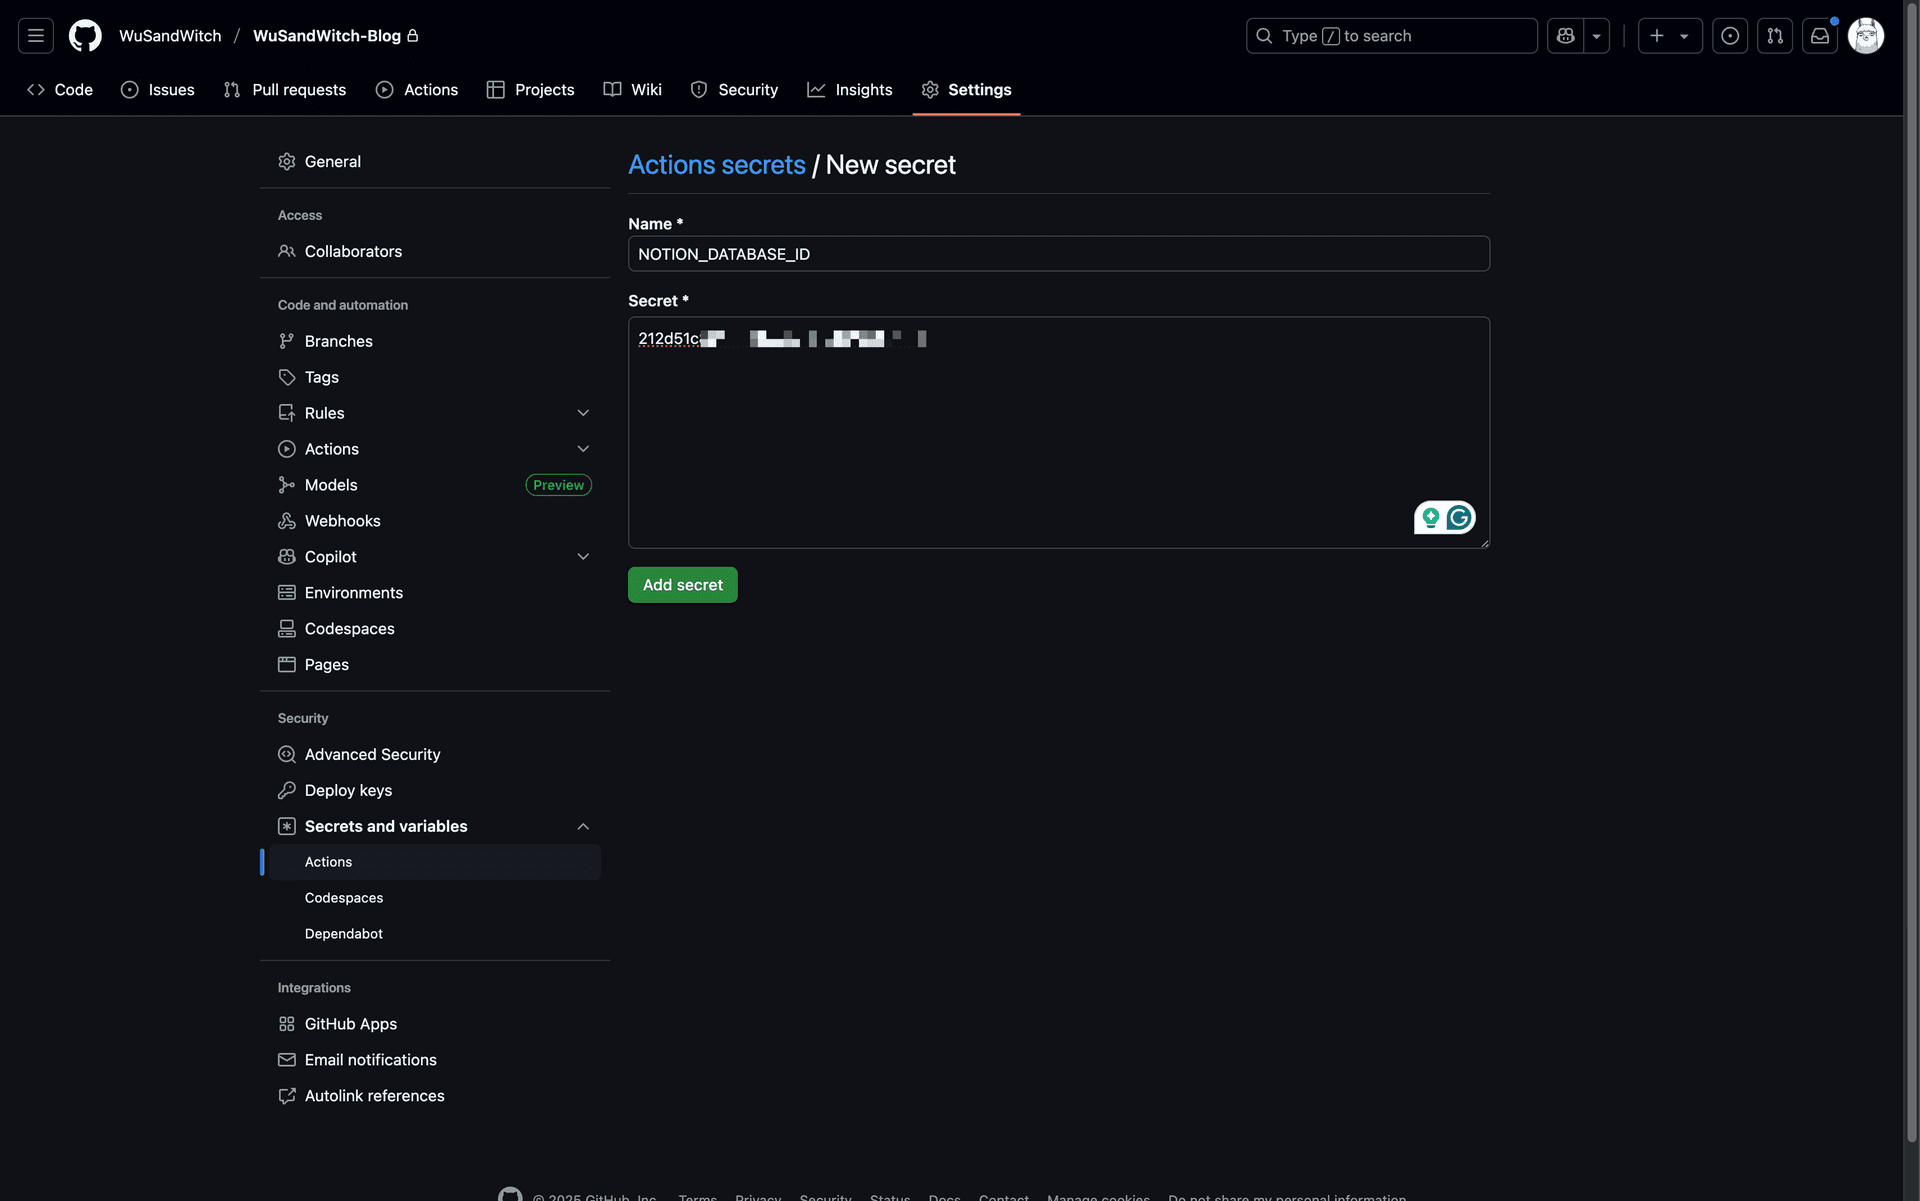
Step 4: Deploy to Vercel
With your GitHub repository ready and secrets configured, it’s time to deploy your blog to Vercel and go live with your Notion-powered blog!
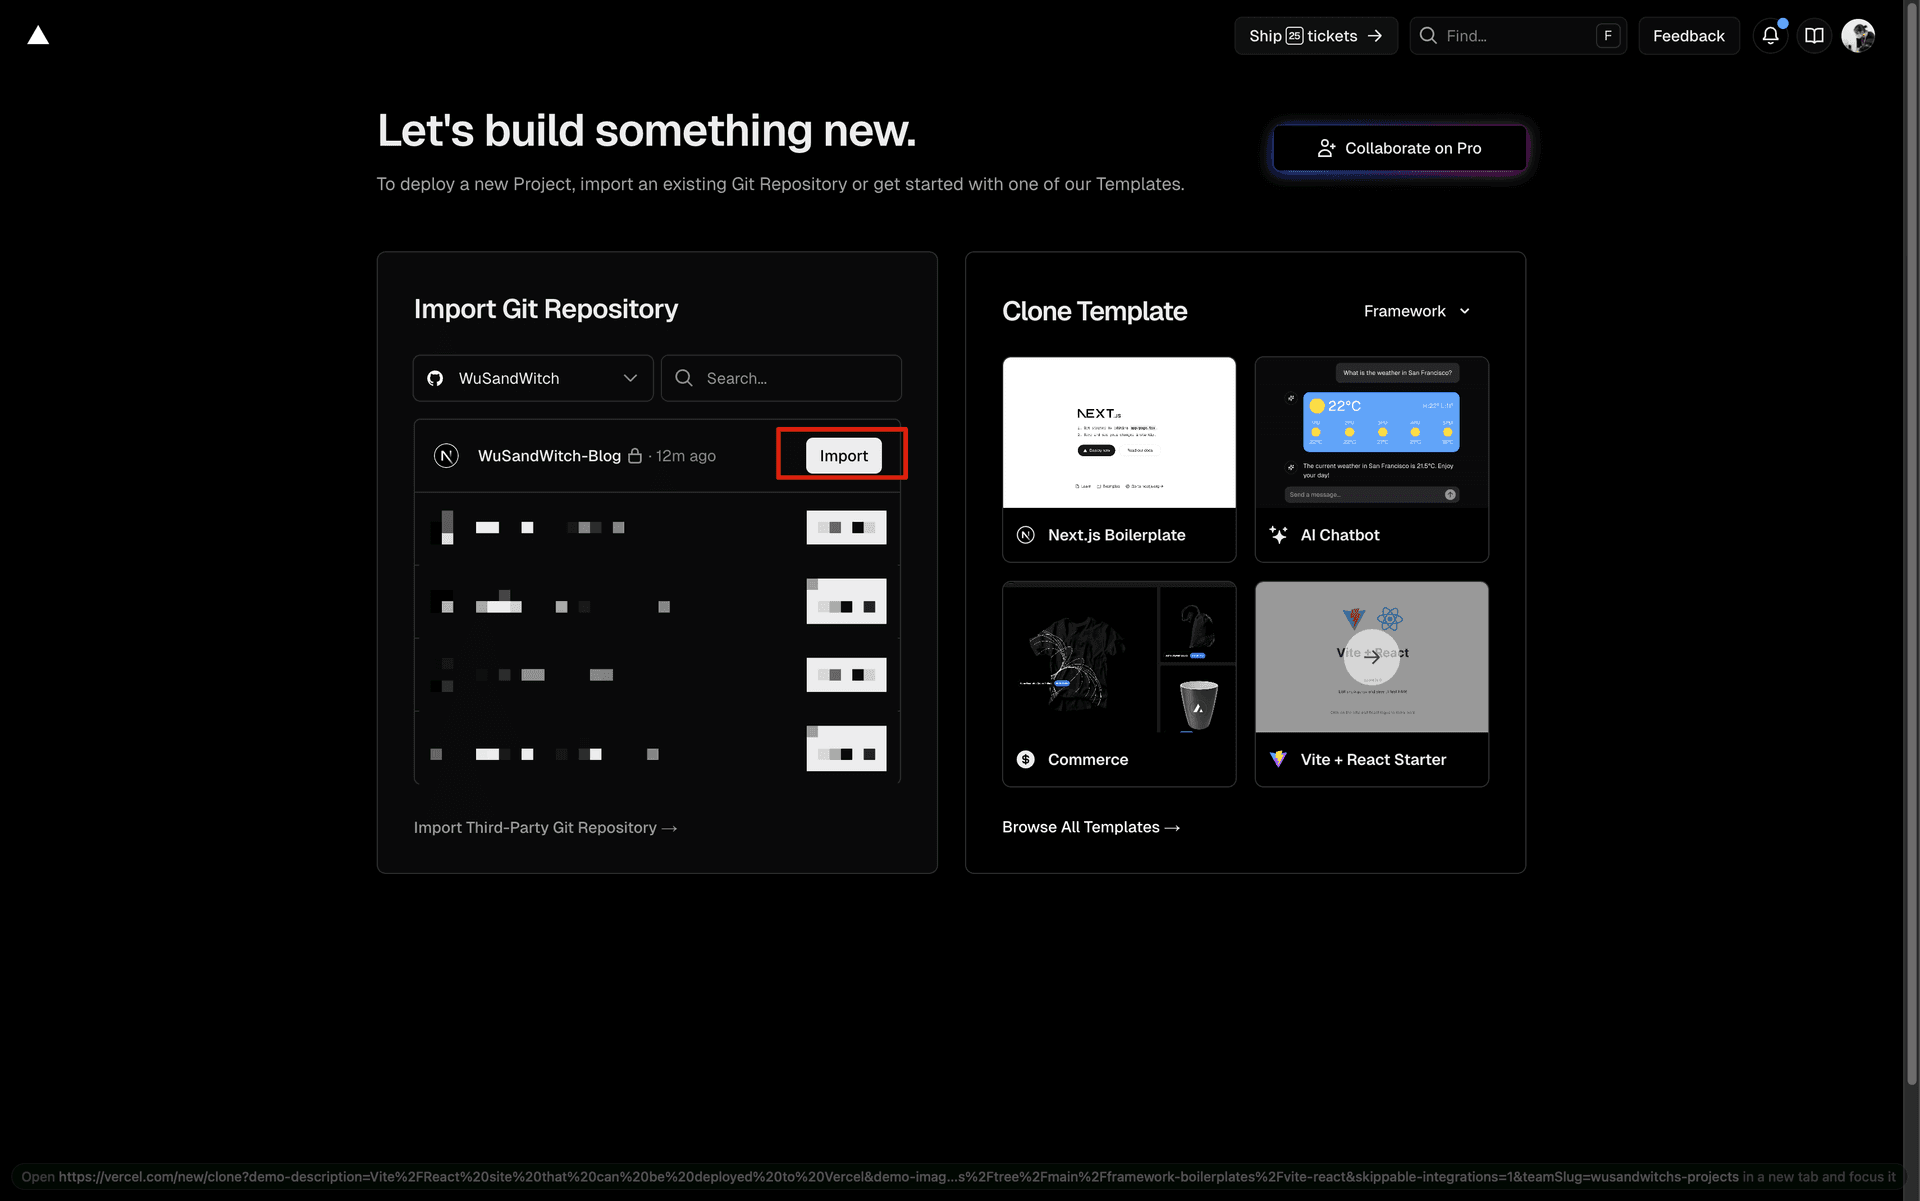
After logging in, click + Add New Project, then select your forked repo (e.g.,
WuSandWitch-Blog).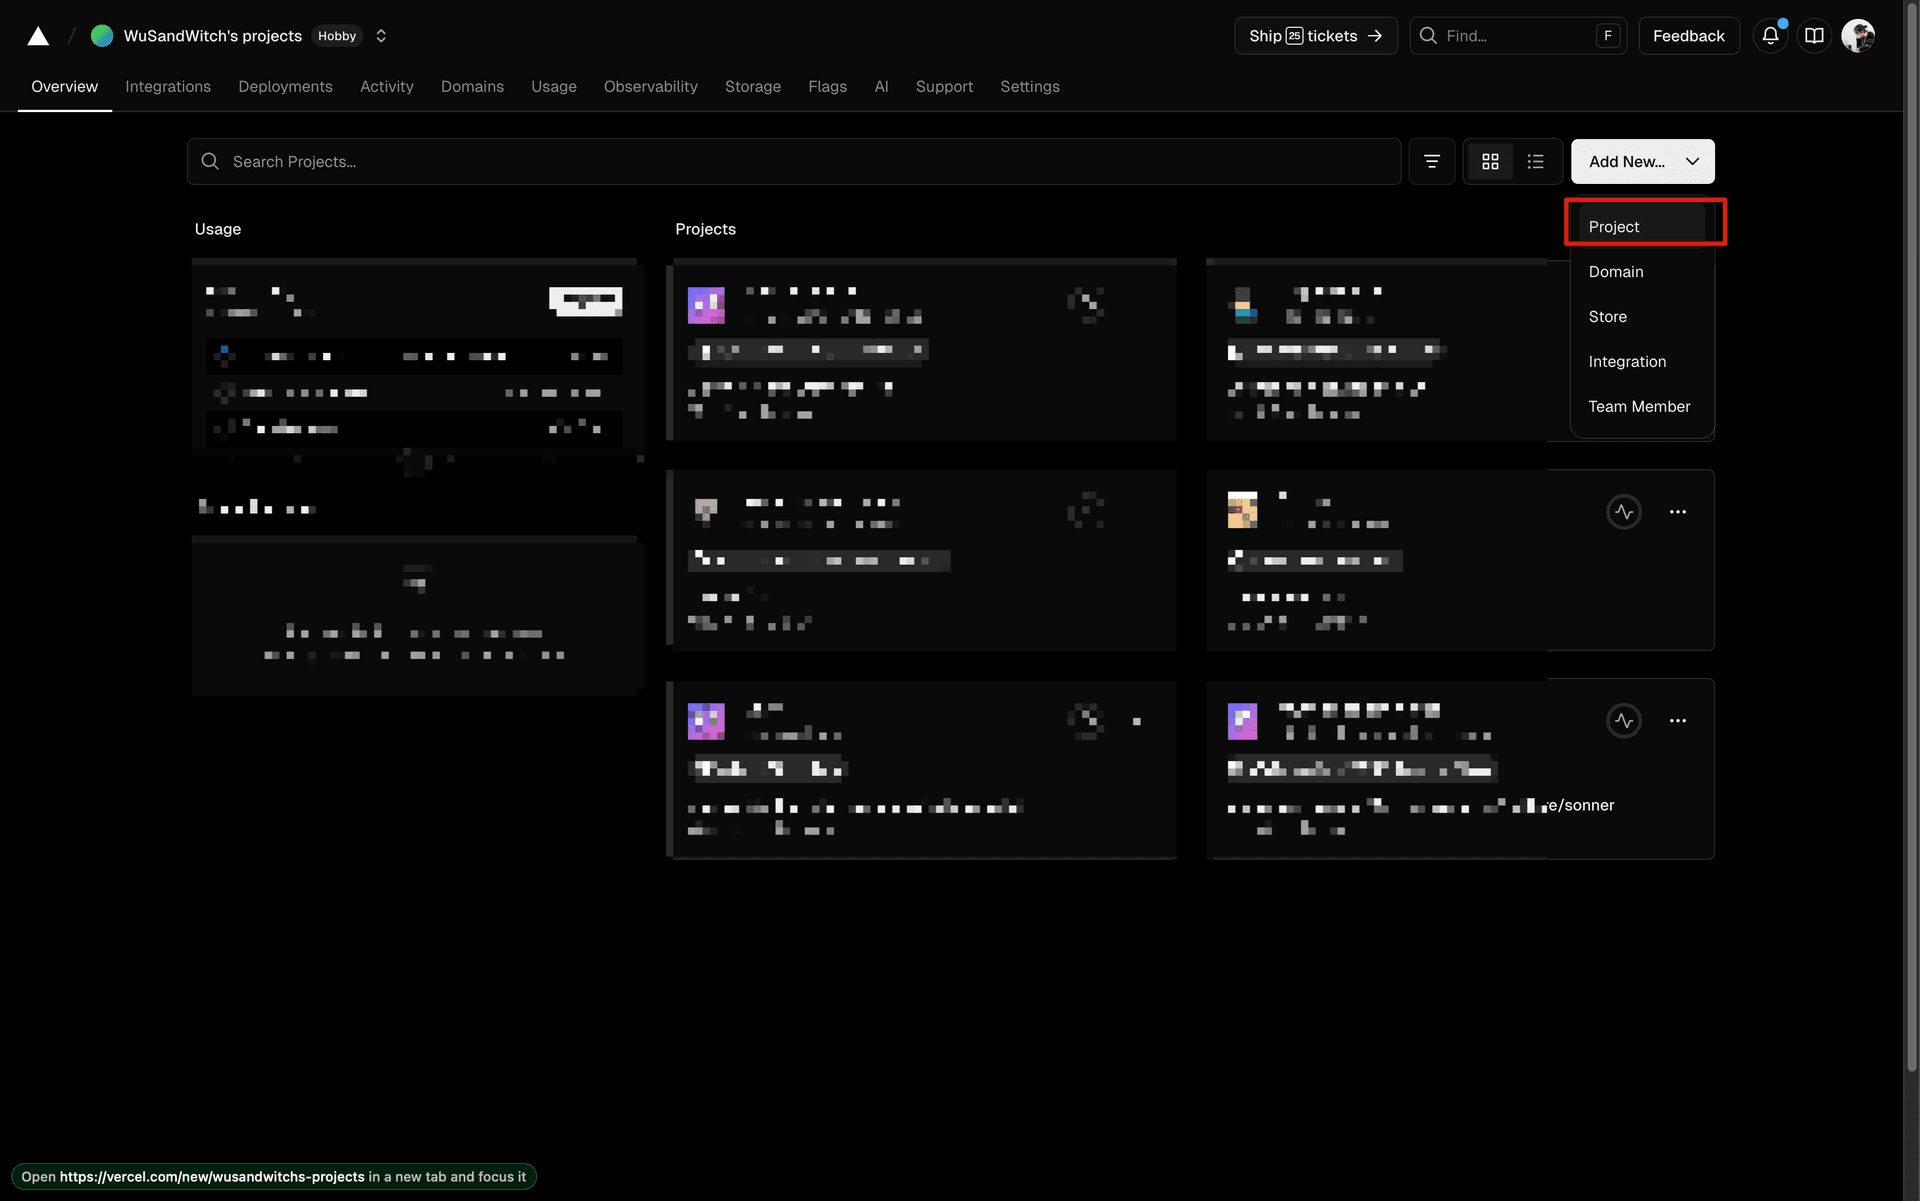
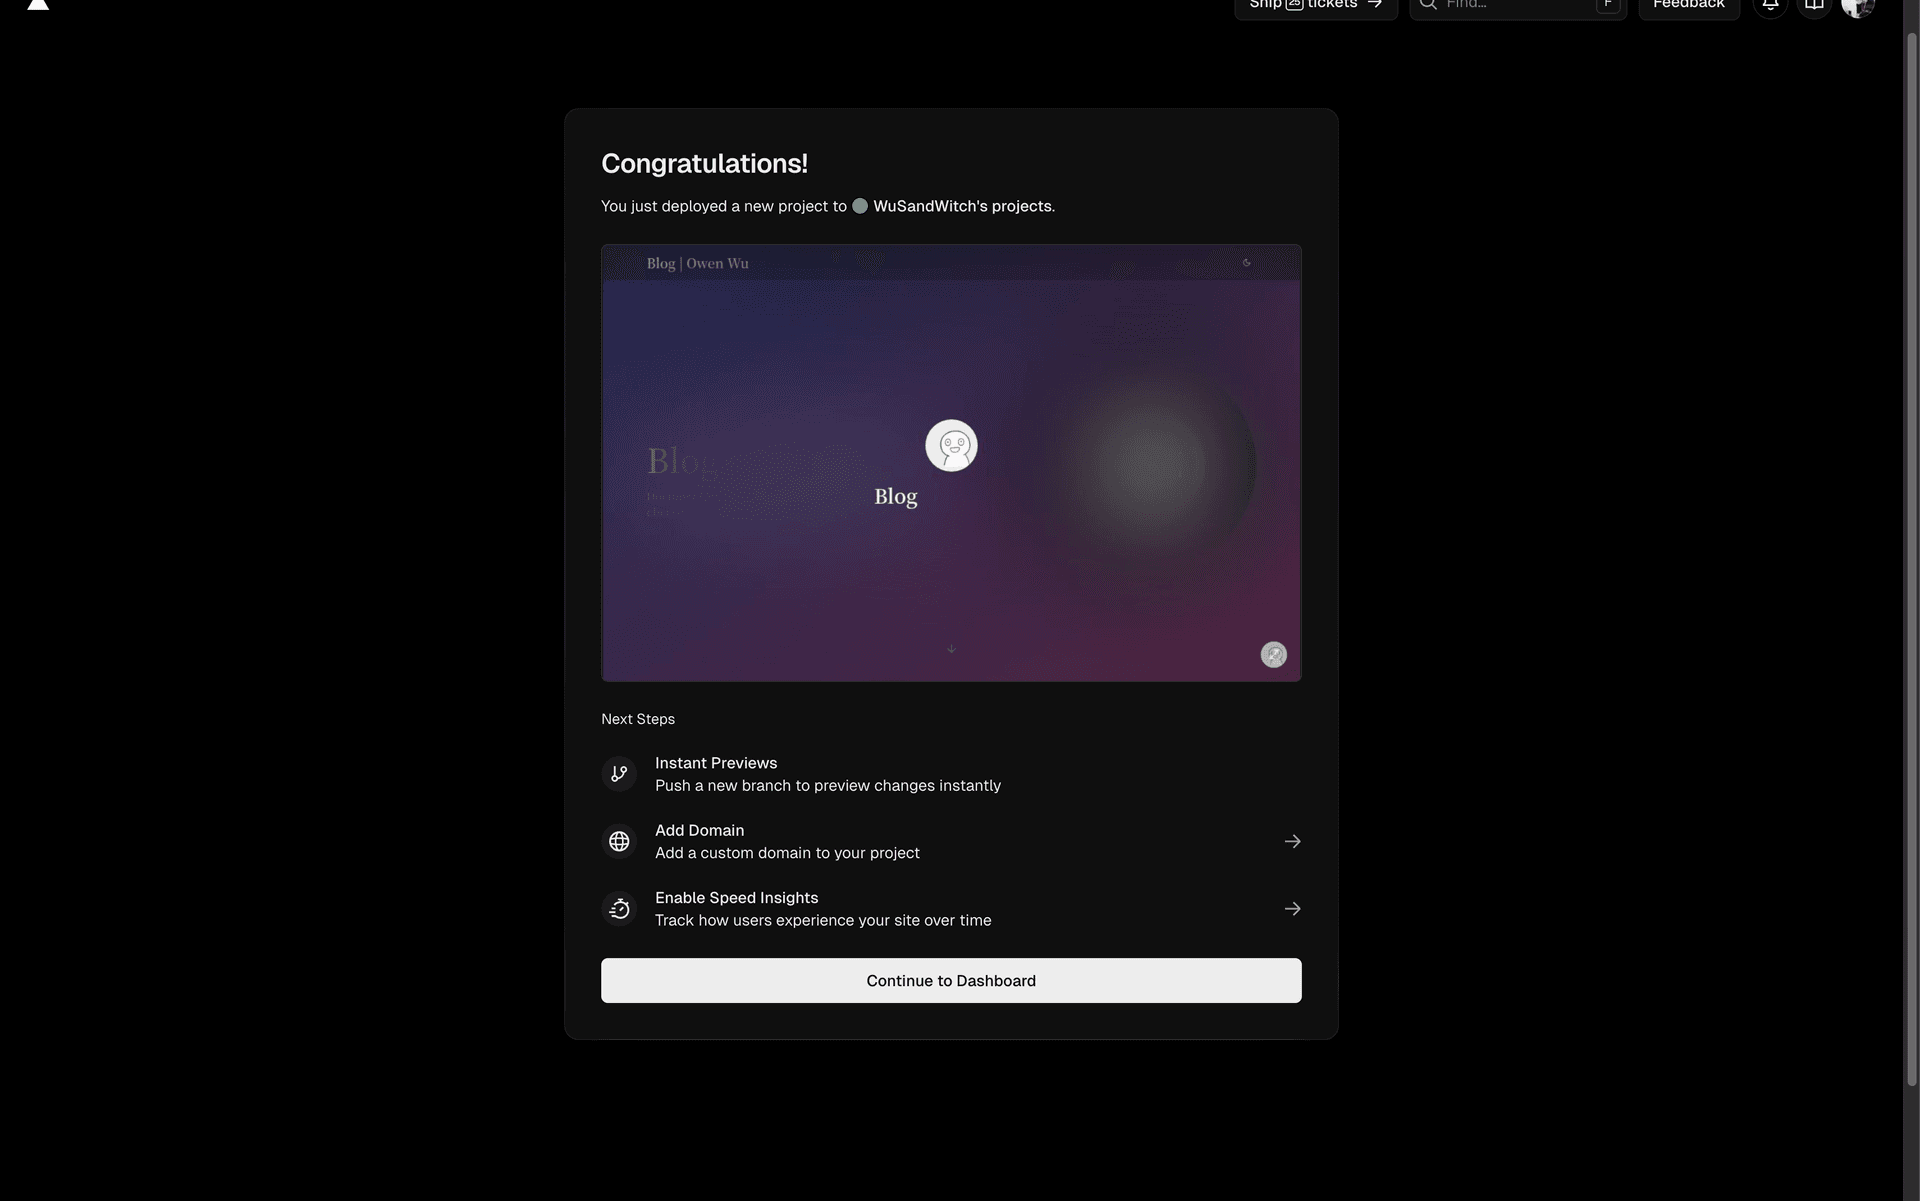
And with that, your blog should be welly deploy after you hit Deploy. Congrats.
Next Step
You can personalize your blog in config file, check here.
About Auto Updates
Once your blog is deployed, Buroguru will automatically sync content from your Notion database every 12 hours via GitHub Actions. The new posts will be published and redeployed without any manual steps.
If needed, you can also go to the Actions tab in GitHub and manually trigger the update workflow.
So…
You can DM me if you encounter some trouble during deploy your blog. You can reach me from any contact information I’ve provided in here.
And please give me a little star on Github if you like it, I’ll be appreciated.